Discretionary Trading Tools
Trade Disc Strategy Builder
Compose a multi-leg option position, see its payoff, breakevens and greeks, then place it — nothing is saved.
Build a position, price it, then place it
#The Strategy Builder is the second page in Trade Disc. It is a planning screen: you put a multi-leg option position together, see what it would make and lose at any price and any date, and only then decide whether to place it.
Nothing here is saved. There is no strategy list, no schedule and no automation — the only thing that can leave this page is an order. Close the tab and the work is gone.
The left half is the input: the legs, and the shelf of standard structures that fills them in for you. The right half is the same position seen four ways — the payoff shape, a per-leg profit and loss table, the greeks, and the money at risk along the top.
It costs nothing to browse. The builder prices exactly the contracts you have staged, so trying twenty structures does not open twenty option chains.
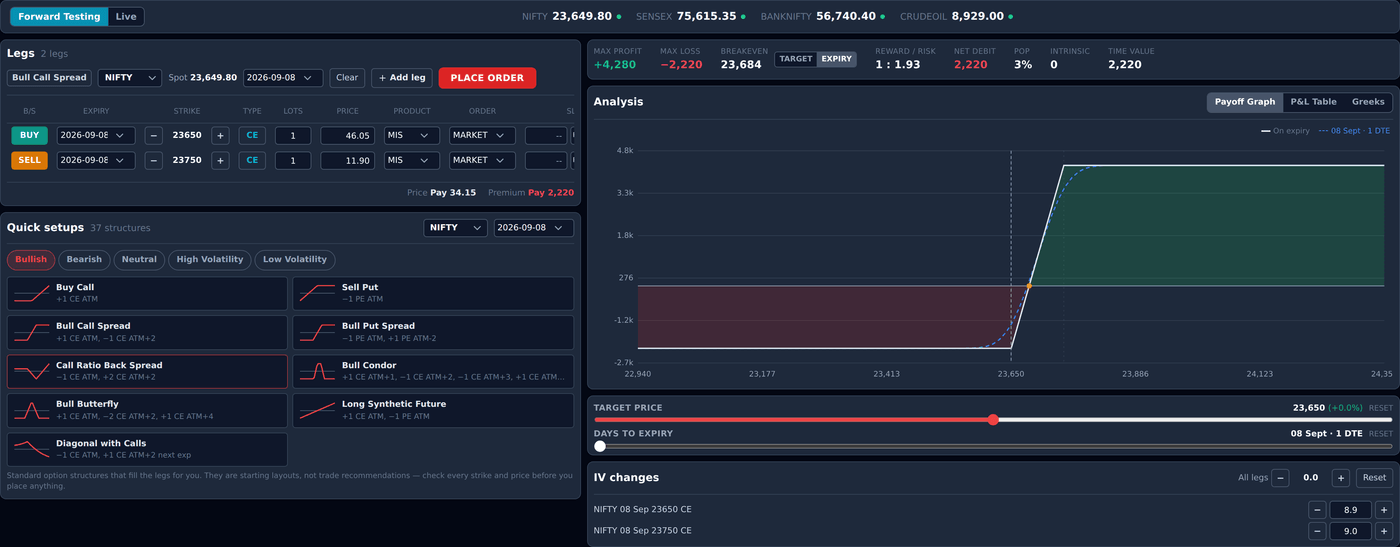
The Legs table
#Every position is a list of legs, and each line is one contract.
- B/S — the green BUY / amber SELL button. Click it to flip that leg to the other side.
- Expiry — any listed expiry, per leg. Two different expiries on two legs is a calendar spread, and that is allowed.
- Strike — the − and + beside it walk the strikes the exchange actually lists, one rung at a time.
- Type —
CEfor a call,PEfor a put. Click it to switch. - Lots — lots, not units.
- Price — the live price of that contract, already filled in. Type over it to test a different fill; LTP puts the live one back.
- Product —
MISorNRML. - Symbol and Expiry, in the panel’s title row, decide which ladder a new leg lands on. Change the symbol and the whole page follows it — the quick setups, the strikes and the prices.
- The bin at the end of a row removes a leg. Add leg adds one at the money. Clear empties the table.
The name at the top of the table
#The builder reads the shape of your legs and names it. Buy a call and sell a further call on the same expiry, and the badge reads Bull Call Spread — whether you built it by hand or picked it off the shelf.
If the shape is not one of the standard ones, it reads Custom. That is not a problem; it is only a label.
Underneath, the table totals what the position costs: Pay if it is a net debit, Receive if it is a net credit, per unit and for the whole position.
Quick setups
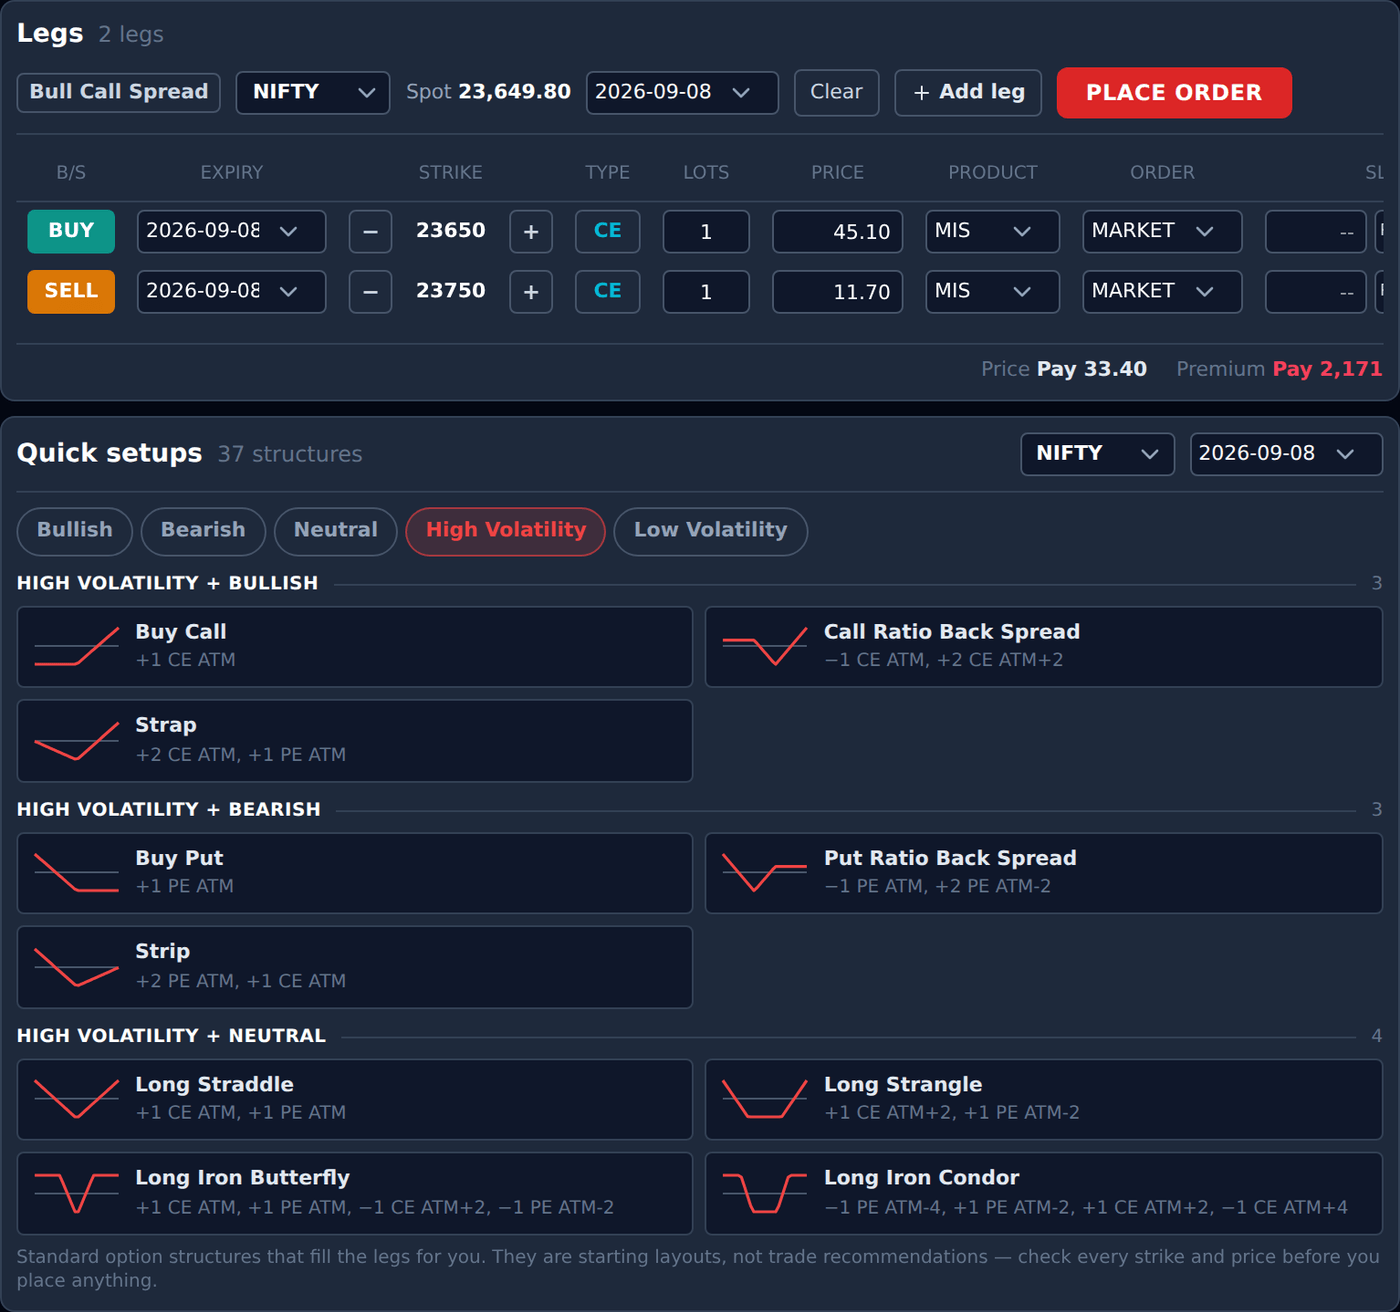
#Quick setups is a shelf of 37 standard option structures, sorted on five tabs: Bullish, Bearish, Neutral, High Volatility and Low Volatility. Picking one fills the Legs table in for you.
The two volatility tabs are split again, under three headings — Bullish, Bearish and Neutral. Expecting a big move is only half a view, so the headings take you straight to the structures that also match which way you think it goes. A Long Straddle sits under Neutral because it does not mind the direction; a Strap sits under Bullish because it leans up.
Read what is written under the panel, because it is the important part: these are starting layouts, not trade recommendations. Bluechip Algos does not provide ready-made strategies and does not tell anybody what to trade. A Short Straddle button is the textbook shape of a short straddle, filled in at the strikes nearest today’s market. It is not a view that a short straddle is a good idea today.
Check every leg after you pick one. The strikes are chosen relative to the money and the prices are whatever the market is quoting; both are yours to change.
The small line under each name is the shape in shorthand — +1 CE ATM, −1 CE ATM+2 means buy one call at the money and sell one call two strikes above it.
The expiry picker on the panel decides which expiry a setup fills on. A structure that needs a later expiry as well — a calendar, a diagonal — is switched off if there is no later expiry listed, rather than quietly putting the leg somewhere else.
The numbers along the top
#The strip above the chart is the money question, answered for the position as it stands.
- Max profit and Max loss — the best and worst this position can do at expiry. One of them may read Unlimited, and it means it: a bought call has no ceiling. A bought put does have a maximum, because the market cannot go below zero.
- Breakeven — the price or prices where you neither make nor lose. The TARGET / EXPIRY switch beside it chooses whether that is measured on the date you have picked with the slider, or at expiry.
- Reward / risk — the two above as a ratio.
- Net debit or Net credit — what the position costs you, or pays you, to put on.
- POP — the chance of finishing in profit at expiry, worked out from the options’ own volatility. It says nothing about how much, and it is a calculation, not a forecast.
- Intrinsic and Time value — how much of the premium is real value today, and how much is only time that will decay away.
- Below the strip, when you are logged in, is the funds you actually have available at your brokers.
The payoff graph
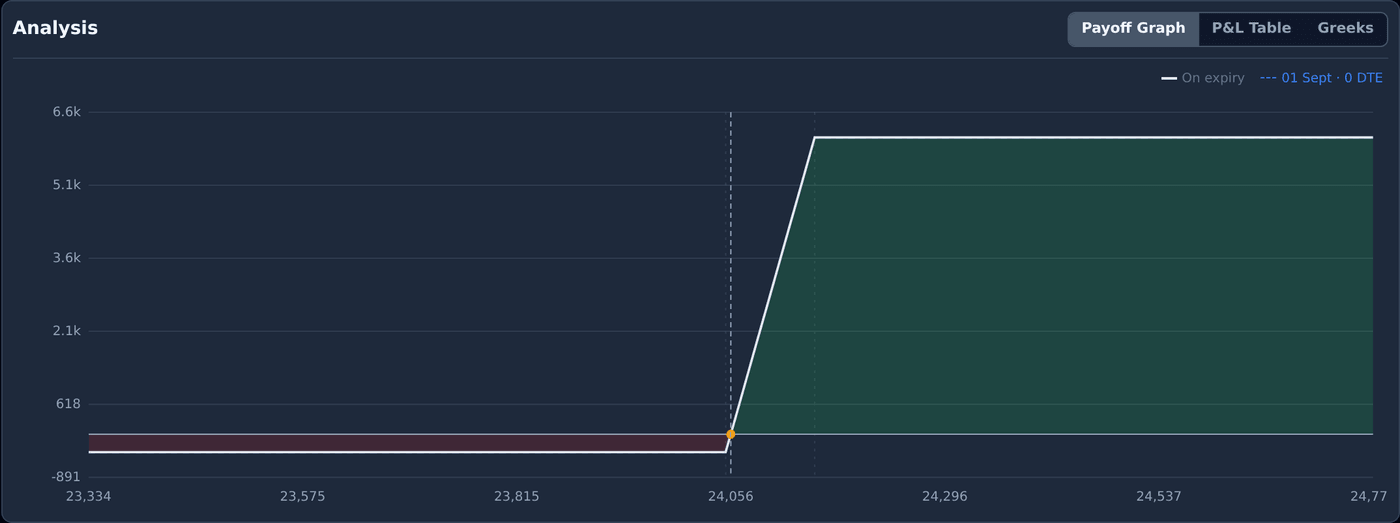
#The chart shows profit and loss down the side and the price of the index along the bottom — not time, which is what makes it different from every other chart on the platform.
Two lines are drawn. The solid one is On expiry. The dotted one is the position on the target date you have chosen with the Days to expiry slider, which is where it would be today if nothing else changed.
Green is profit, red is loss, and the dashed vertical line is where the index is right now. The dotted verticals are your breakevens.
The window hugs your strikes, so a tight spread reads as a shape rather than a step between two flat tails.
The P&L Table and Greeks tabs
#The two tabs beside Payoff Graph answer the same question leg by leg.
P&L Table shows, for each leg, what it is worth now, what it would be worth at your target price and date, and the profit or loss that makes — with a total at the bottom. It is where you find out which leg is carrying the position and which one is only insurance.
Greeks shows delta, gamma, theta and vega for each leg and totalled. The total delta is the one to read first: it is how much the whole position moves for a one-point move in the index, and whether it is positive or negative tells you which way you are actually leaning.
The three what-ifs
#Under the chart are the controls that answer "what if". None of them changes your position — they change the question.
- Target price — drag it to ask what happens if the index gets to that level. The percentage beside it is how far that is from where the market is now. RESET puts it back to the live price.
- Days to expiry — drag it to ask what the position is worth on a later date, with that much time decay taken out. At
0 DTEyou are on expiry day itself. - IV changes — raise or lower the implied volatility, for one leg or for every leg at once with the All legs control. This is how you check whether a position is really a volatility bet: if half a point of IV moves the answer a long way, it is.
Placing what you built
#PLACE ORDER, in the Legs panel’s own title row, sends every leg. Set Forward Testing / Live in the strip at the top of the page first; the broker accounts come from Configuration, the same as on the dashboard.
The same two rules as the dashboard apply: BUY legs go out before SELL legs, so a spread is not rejected for margin the bought leg was about to release, and each leg is tried once.
When it is done you land on the Trade Disc dashboard, and the legs are ordinary Trade Disc positions — every strike shift, quantity change and level in Adjustments works on them exactly as it does on anything else.
What it cannot do?
#Worth knowing before you rely on it.
- It cannot tell you the margin this position will need. No broker offers that as a service we can call. It shows the funds you have; the requirement is your broker’s to state.
- It cannot save anything. No drafts, no templates, no list of positions you were thinking about.
- It covers NIFTY, BANKNIFTY and SENSEX only. MCX commodities are traded from the dashboard, not from here.
- It cannot tell you what to trade. The structures are shapes; the strikes, the prices and the decision are yours.
- The prices it works from are the market’s last traded prices. A contract nobody has traded today has a stale price, and every number on the screen is only as good as that.
When something looks wrong
#The four that come up.
- A quick setup is greyed out. It needs a later expiry than the one selected — calendars and diagonals put one leg on the next expiry.
- A price box is empty. That contract has no traded price. Type a price in and every number on the right recalculates.
- Max loss reads Unlimited. You have a sold call with nothing above it. That is arithmetic, not a warning message — but it is worth reading twice.
- Place Order asks for an account. Choose the mode and tick at least one connected broker account in the header.